
Start with the required size, then review the top of the head, eye line, chin and shoulders against the selected template.
Choose the exact photo type first
A file with the correct outer width and height may still place the head incorrectly. Begin by selecting the document or visa type requested by the customer. Its template provides the dimensions and visual guide for the crop. Do not resize a finished picture merely to force it into another ratio: that can distort the face. Instead, adjust the crop against the source image while keeping its proportions intact.
Read the guide as a placement aid
Look at the top of the hair, eye level, chin and shoulder line together. The top edge should not cut hair, and the chin should not be pushed into the lower boundary. Some faces, hairstyles and head coverings require small manual adjustments even after automatic detection. The guide helps you see where to refine the crop; it does not guarantee acceptance by an authority. Always check the current requirements of the destination document.
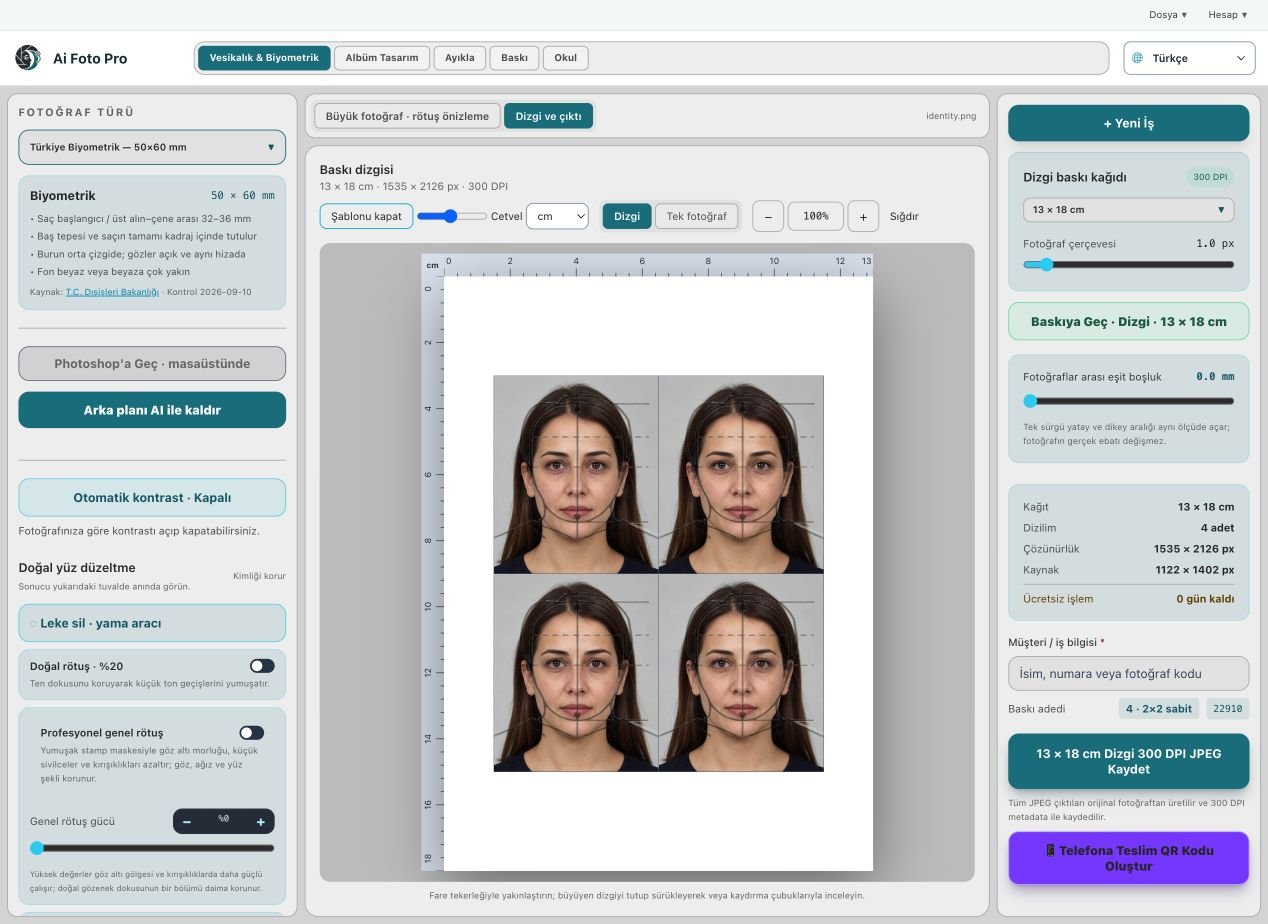
Correct angle before measuring
A tilted head can make one eye appear higher and can throw off the apparent size of the face. Straighten the photograph gently while watching the eyes and shoulders. Avoid large rotations that create empty corners or force a tighter crop than the source can support. If the person is naturally turned or the shot is heavily tilted, a new photograph may be more reliable than aggressive editing. The final result should still look like the customer.
Inspect the output sheet
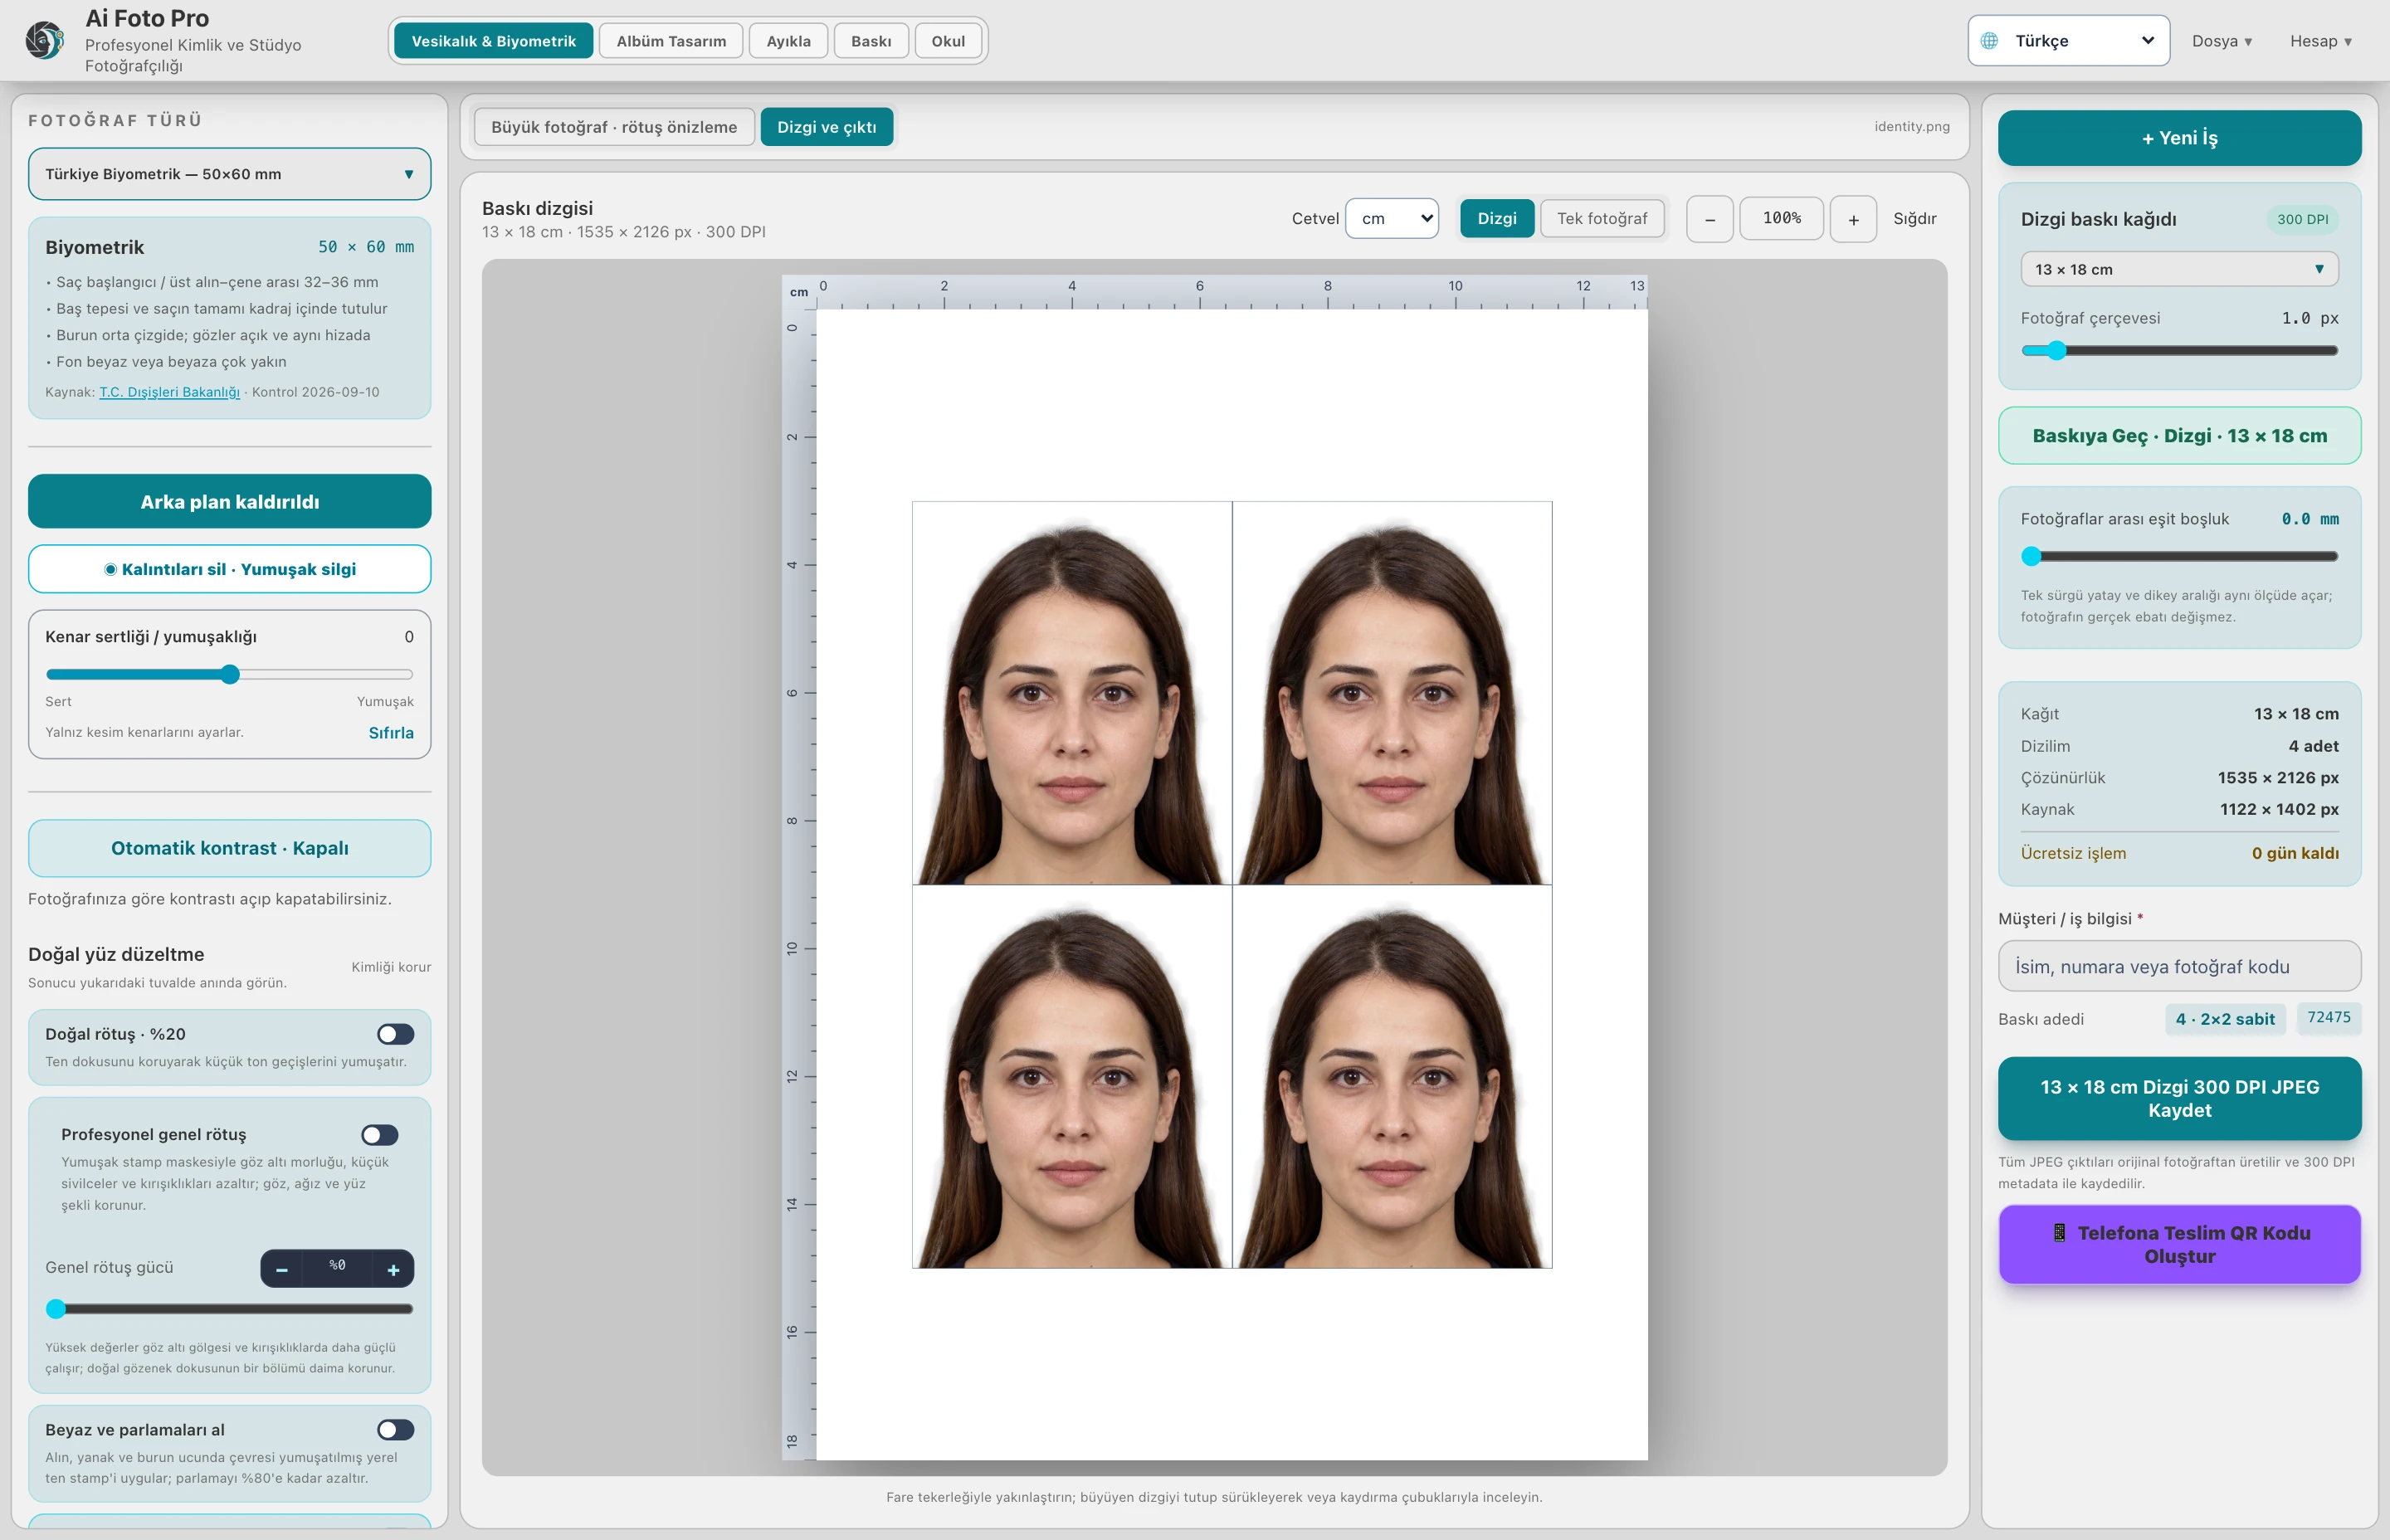
After approving the single portrait, open the print layout. Repeated copies must have the same physical size, eye line and crop. Check a thin boundary around each image so white backgrounds do not merge invisibly with the paper. Verify the chosen paper dimensions and source resolution before saving the final file. A clear preview is useful, but the delivered file itself is the definitive result.
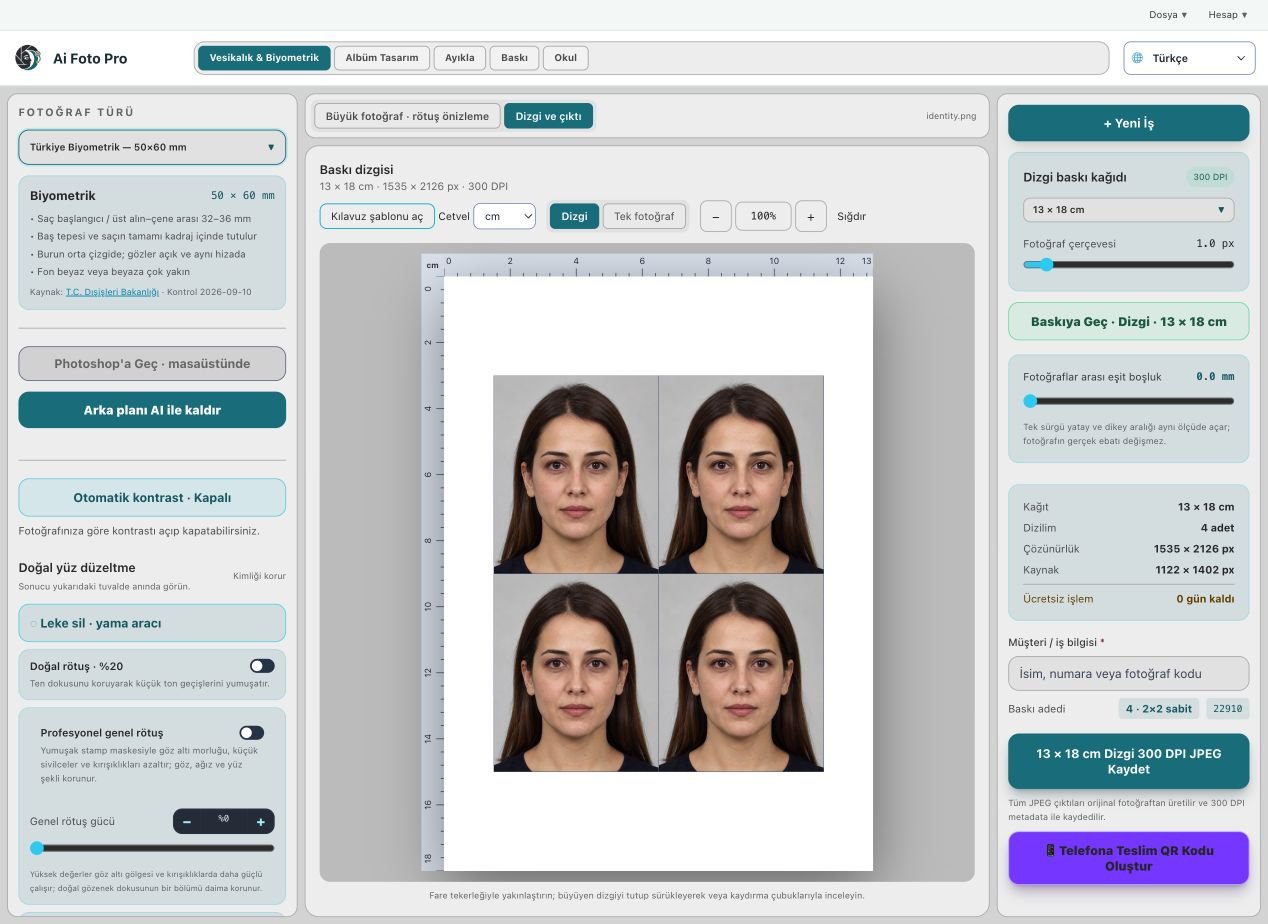
A practical studio check before delivery
Begin with the customer’s requested product and the original camera file. In this id and biometric photos workflow, confirm the source orientation, the intended physical or digital size, and the treatment that was actually requested. Work on a copy so the first capture remains available. Make one controlled adjustment, then compare it with the previous state. A change that looks impressive at maximum zoom can still feel wrong in the complete portrait or page. If several photos belong to one job, inspect more than one image before applying the same settings throughout the set. Keep a consistent naming scheme so the approved export can be found later.
Preview and delivered file are different checks
The application preview helps you decide where to crop or edit, but it may use fewer pixels than the source file. After saving, open the exported JPEG or page separately and confirm its dimensions, crop and visual quality. Inspect faces and important borders at normal size, then zoom into problem areas. If a detail appears soft, repeated or oddly colored, return to the working image and refine it before sending anything to the customer. A clear export check also catches an incorrect folder, a missing file or a mismatched output preset. Do not rely only on a success message.
Explain the finished result to the customer
Customers rarely ask which algorithm or brush was used. They want to know whether the result fits their purpose, still resembles them, and can be opened or printed without surprises. Tell them which output is the final version and what each file is intended for. If the task involves an official document, the receiving authority makes the final acceptance decision; check current requirements before promising compliance. Keep the original capture and the approved output separate, so a later request for a different size or a small revision does not require repeating the entire job.
Related guides
Continue with 300 DPI ID photo layout, natural skin retouching, clothing and scarf color boundaries. These guides cover the neighboring decisions that often affect the same customer delivery.