Custom paper, borders and output sizes
Don't try to fit everything on a single piece of paper.
 Ai Foto Pro
MG Work Studio & Medya Ajans
Ai Foto Pro
MG Work Studio & Medya Ajans
AI FOTO PRO · PRODUCT GUIDE
See how the photo will fit on the paper before sending it to print. Adjust light, color, precise angle and framing on the same screen; specify the quantities and photos to be skipped and send the job to the printer queue.
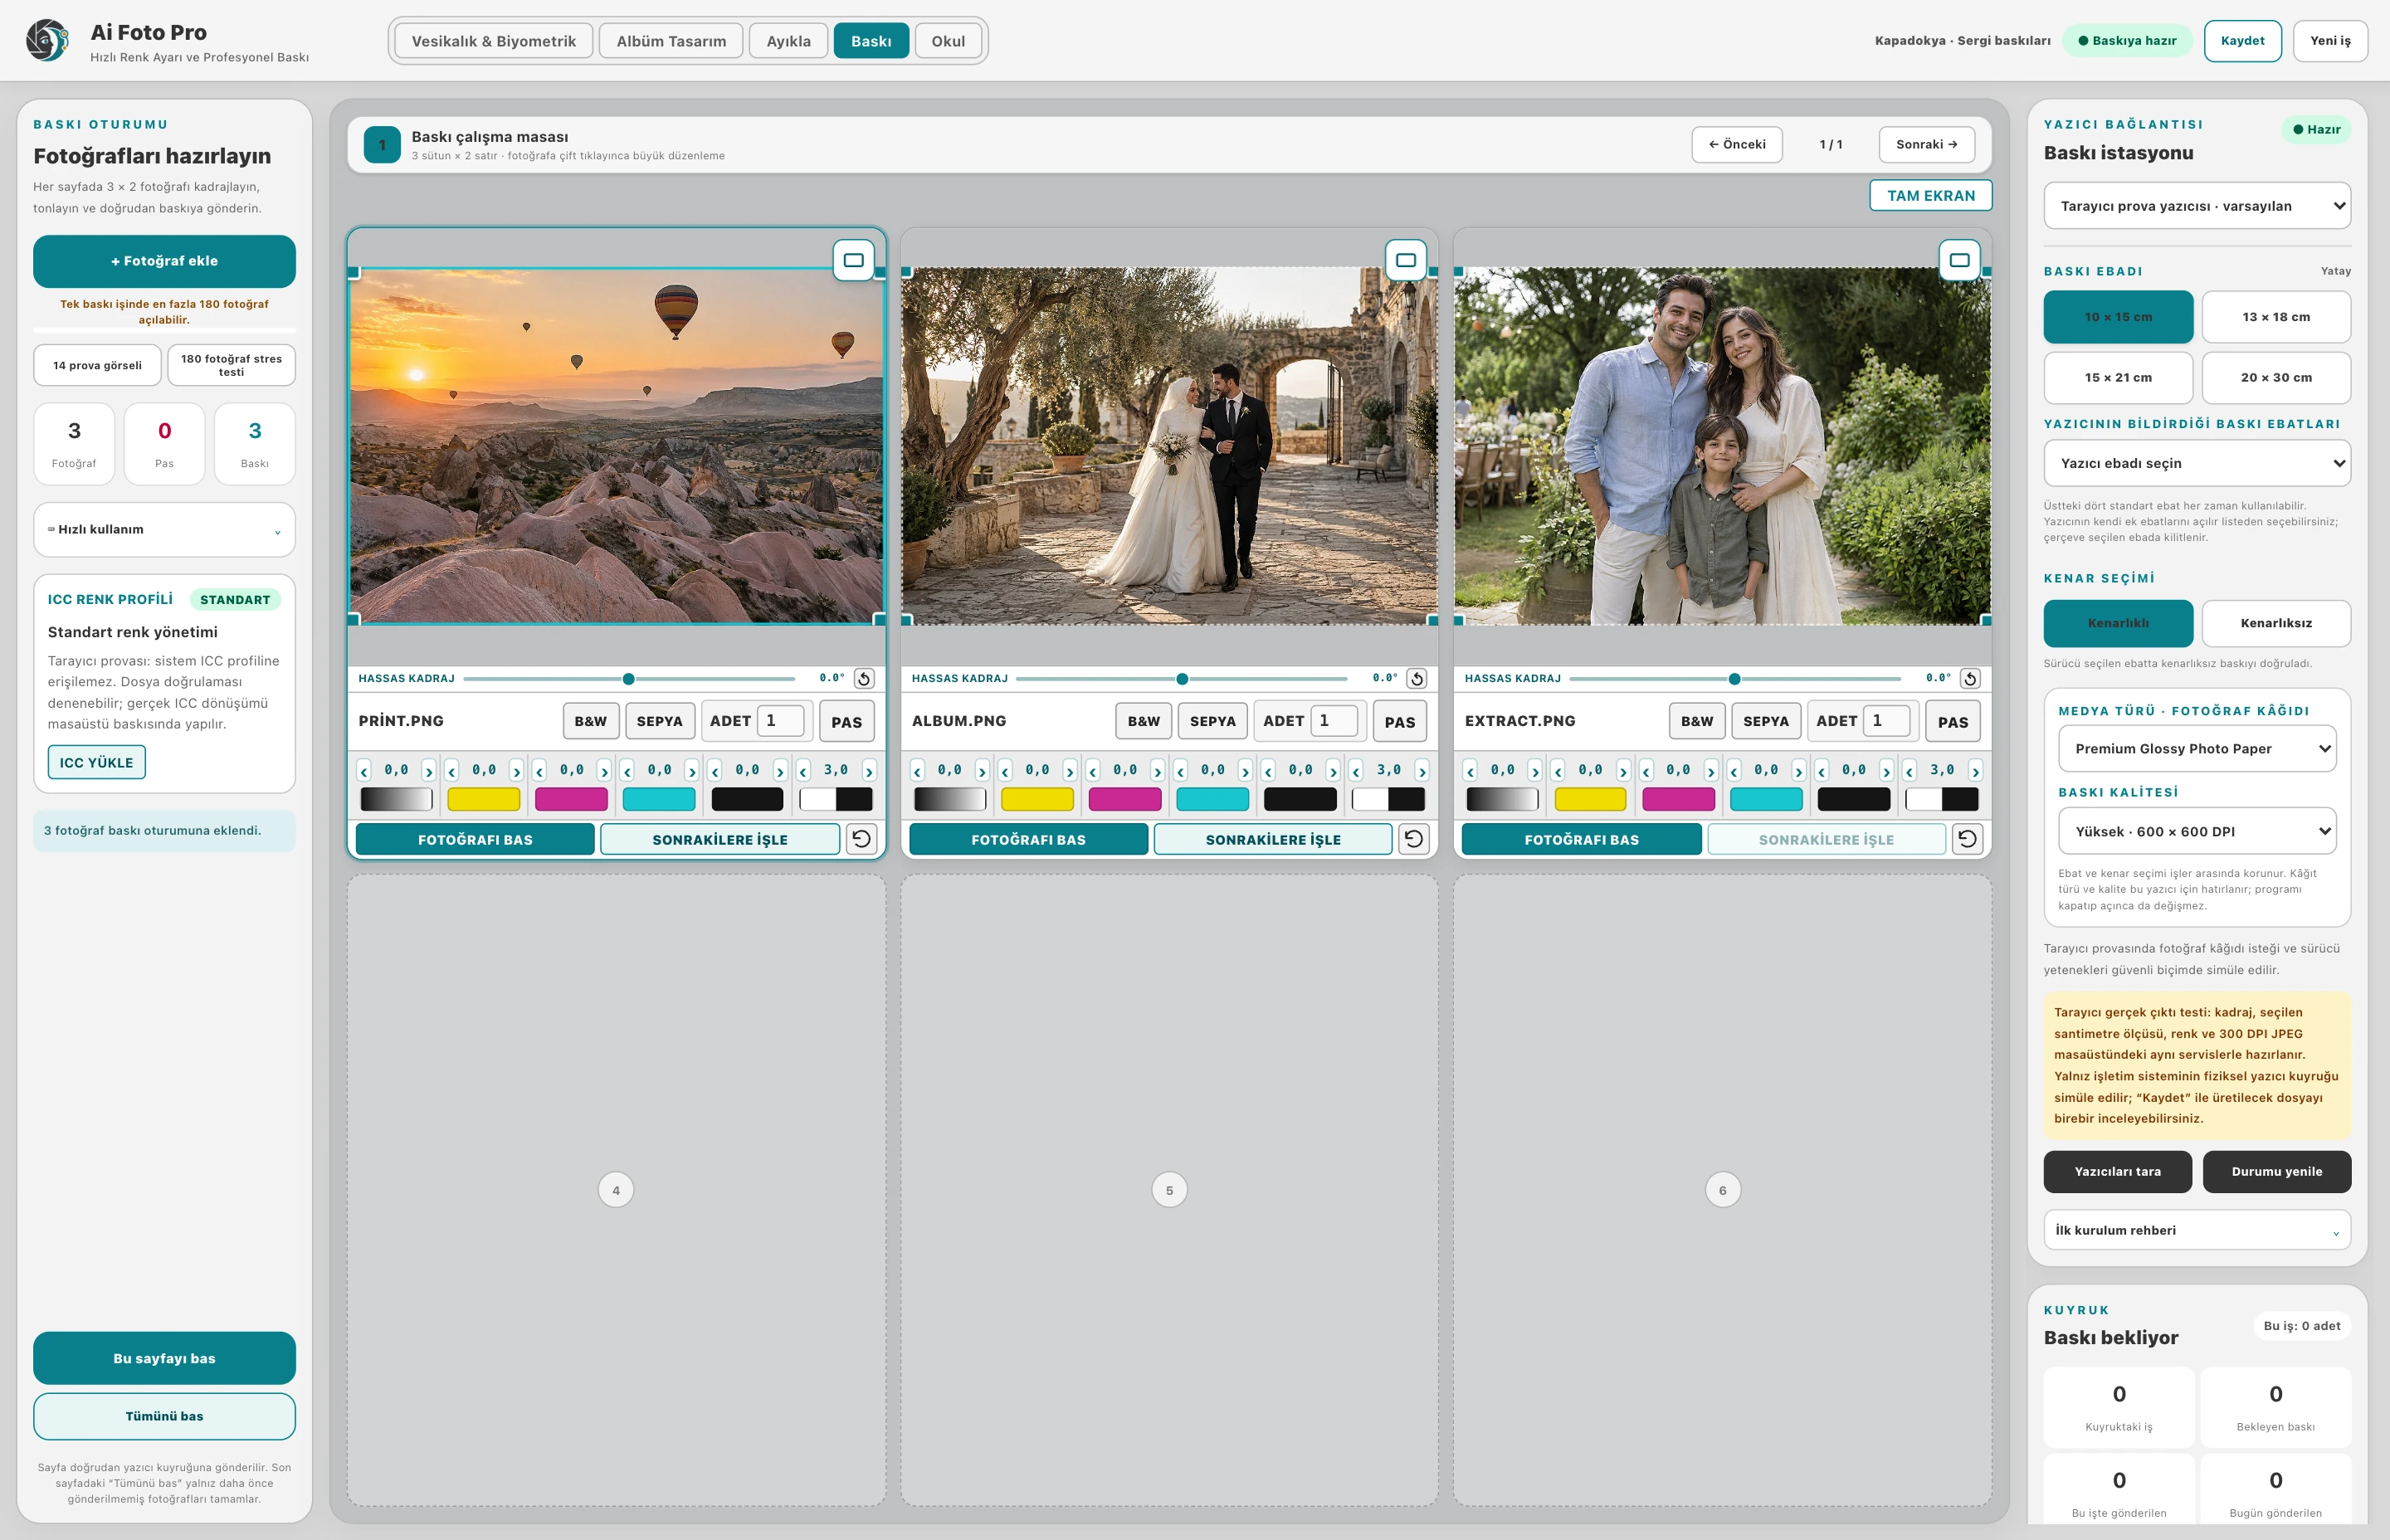
Preview the landscape or portrait photo at the print ratio you choose. Check before printing which areas will remain on the edges. The printer's reported paper size, bordered or borderless selection, and your actual paper must match.
Prepare the photo for printing with color, lighting and precise angle controls. You can apply common settings to successive shots and edit the framing of a single photo separately when necessary. Keeping the photo within the selected proportion will help you avoid flattened or elongated faces.
Determine the number of prints for each photo; skip the frames that will not be printed. Print all uses the return flow to the main list after sending the job to the printer. Job and day-by-day records let you keep track of which prints were sent; A submitted job does not constitute completion of the physical print.
Before printing a large job, review a sample with the same paper and driver settings. Screen brightness, ICC profile, printer driver and paper type affect the color result. While the application prepares the frame, the printer's mechanical tolerance and driver settings are also part of the final output.
Yes. After selecting the paper size, you can adjust the framing on the preview. You can check the visible area and orientation of the photo before sending the print.
You can adjust the light and color settings of photos separately. This way, you can prepare frames taken in different lighting conditions in the same print job.
You can make small angle corrections with precise framing adjustment. You can determine the placement on the paper by checking the photo's orientation and cropped edges in the preview.
Yes. You can skip the photo you do not want to print with PAS, and determine the quantities of other photos separately. The batch print job is prepared according to these selections.
The prepared photographs are sent to the printer queue according to quantity and PAS selections; the program returns to the main list. Completion of the physical print depends on the queue status of the printer and driver.
From the print station, you can select the printer, paper size, and the media, quality, and edge options the driver offers. Match the size in the preview with the size of the paper you inserted into the printer.
Evaluate the right workflow for your studio based on your own photos and output needs.