Natural portrait retouching
Create a clean, balanced portrait of your client that looks like himself.
 Ai Foto Pro
MG Work Studio & Medya Ajans
Ai Foto Pro
MG Work Studio & Medya Ajans
AI FOTO PRO · PRODUCT GUIDE
Balance out harsh highlights created by the flash on the forehead, nose, or cheek in a controlled manner. Your goal should not be to flatten the skin, but to make the natural light transitions of the portrait more readable.
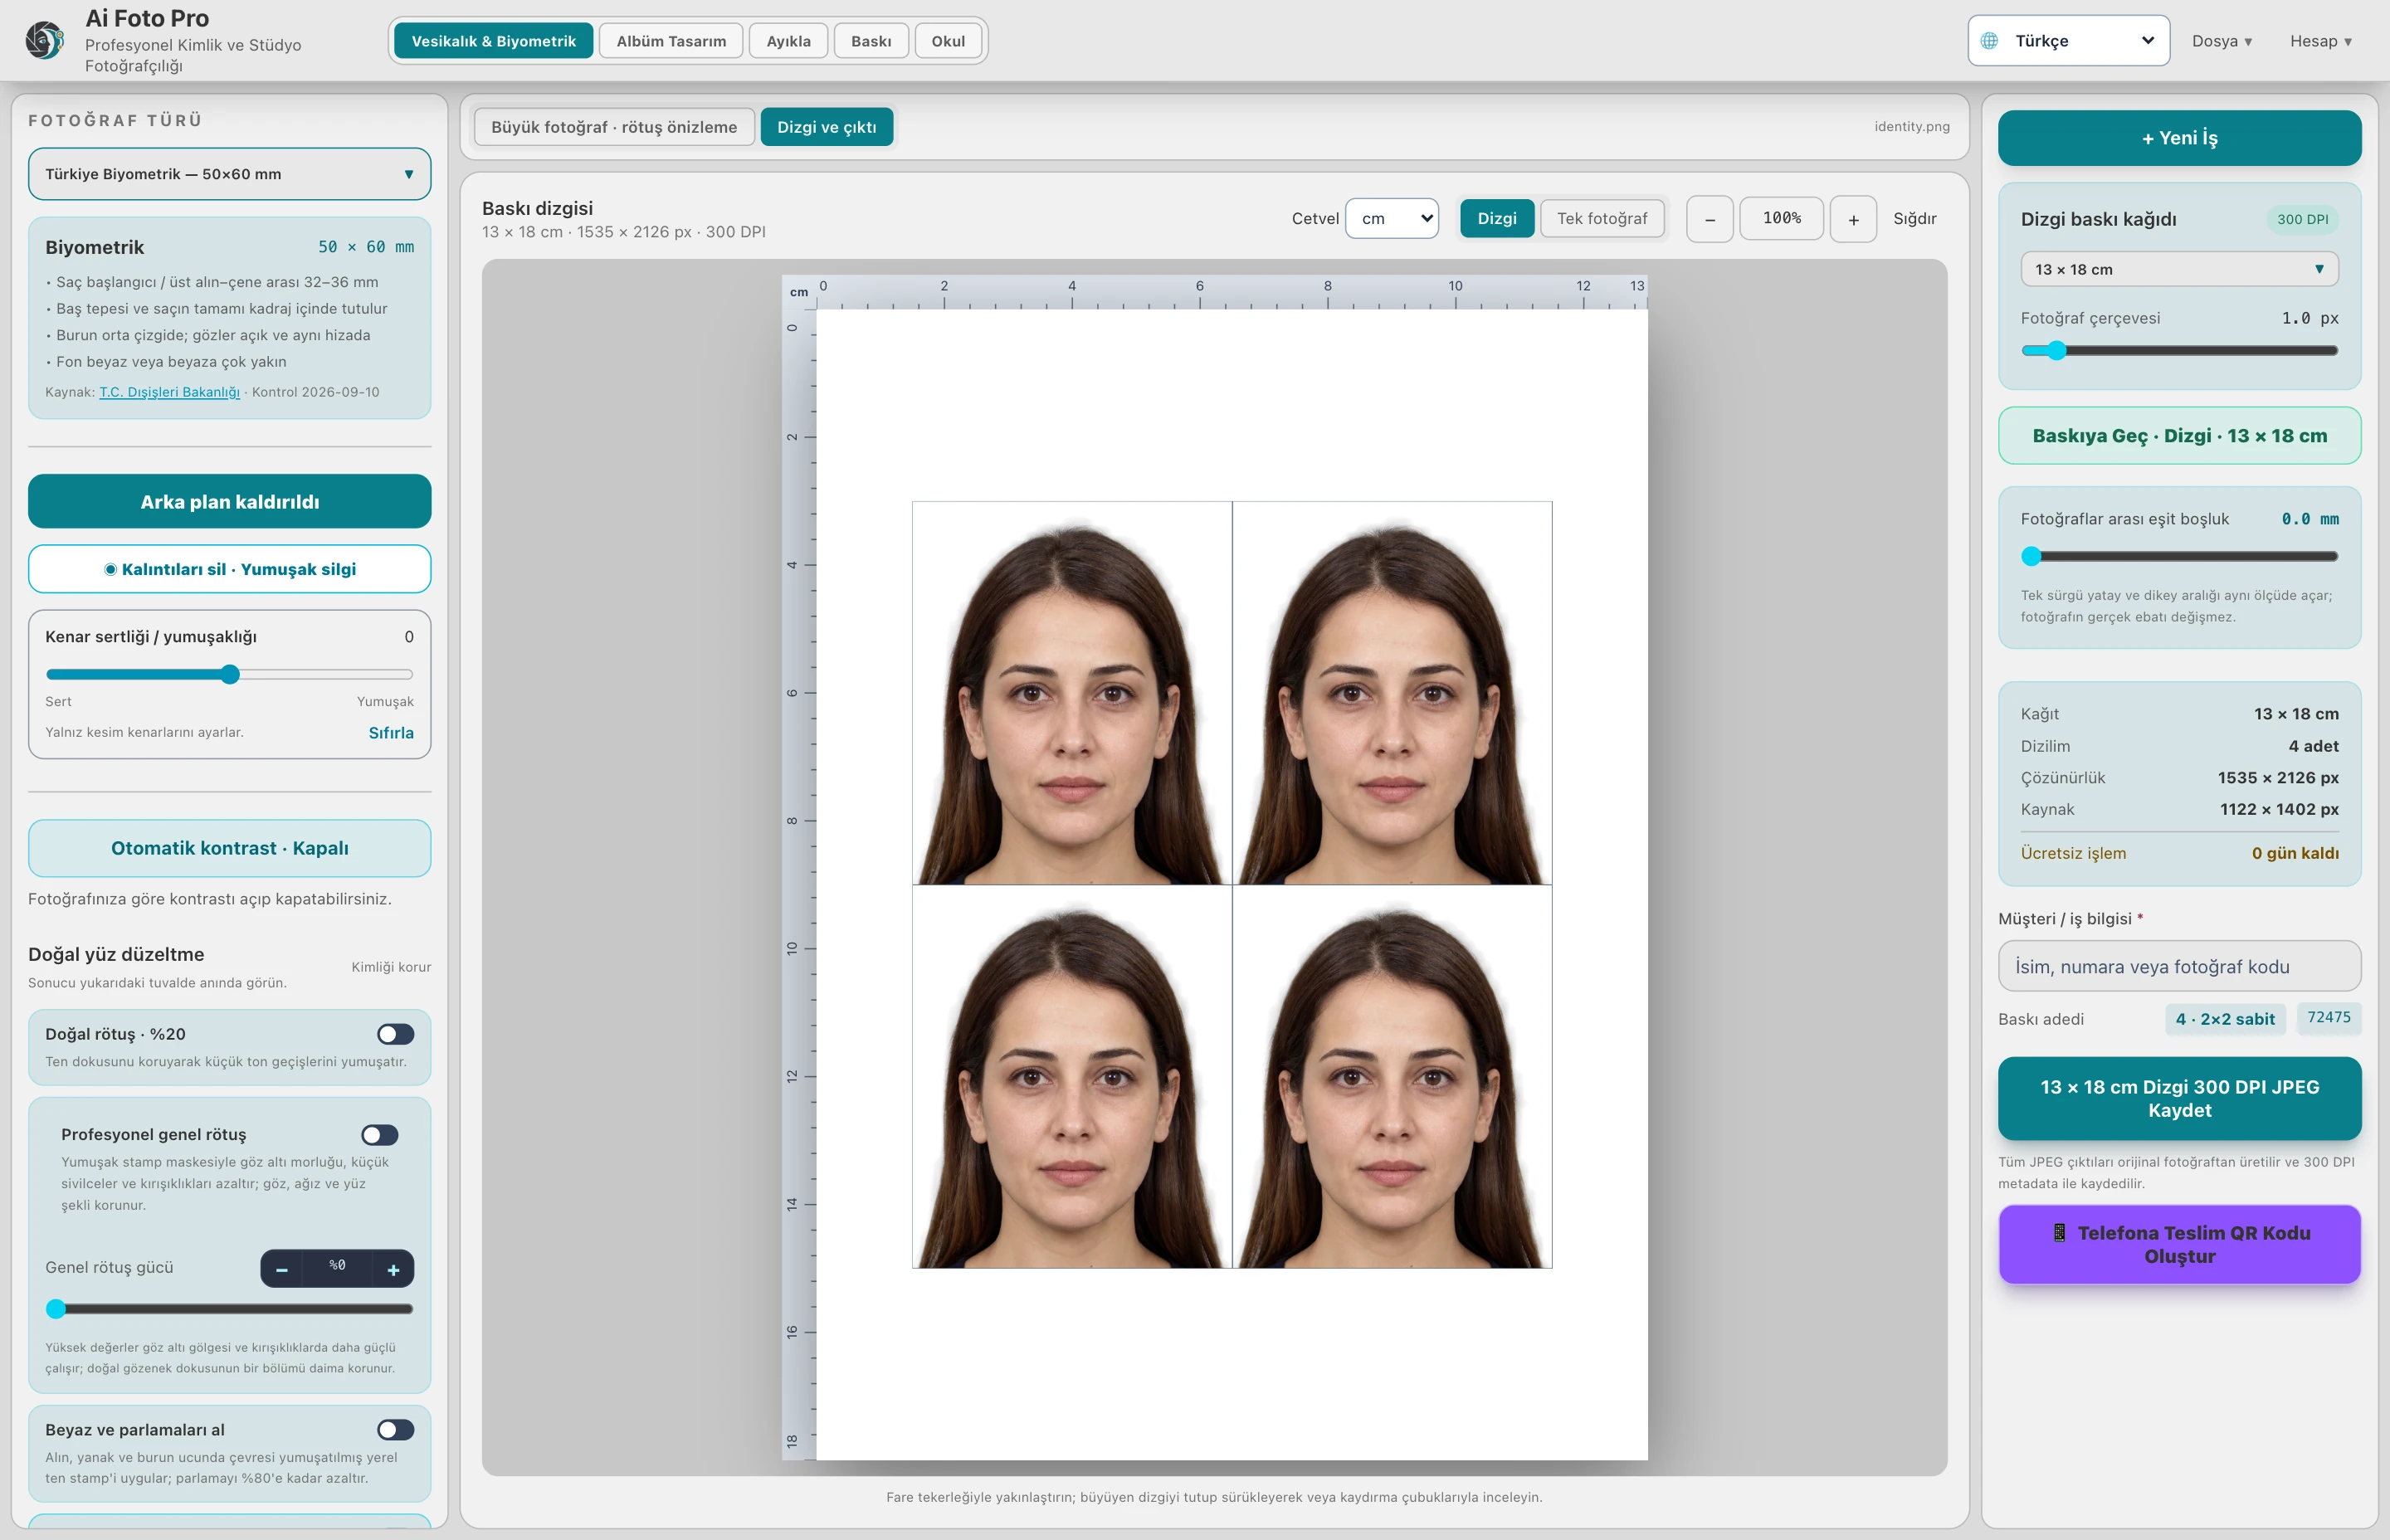
The Highlight tool evaluates bright areas within the face along with neighboring skin tones. Adjust in small steps and observe how it transitions into the surrounding tissue. The same power does not produce the same result in every shot; the direction of light and exposure determine the starting photograph.
If all detail is lost due to overexposure, the actual skin texture may not be present in the file. A fix cannot definitively restore this detail. Editing the light strength and angle in burst shooting gives a better start for subsequent frames.
After correction, control the overall volume of the face. If an excessively dull appearance or color that differs from the surroundings occurs, reduce the power. Maintain the portrait's distinctive look by combining retouching and lighting.
No. A well-exposed shot and suitable light are the best start. The tool helps stabilize the existing photo in a limited way.
Evaluate the right workflow for your studio based on your own photos and output needs.